How To Strengthen Ankles
A practical step-by-step guide to how to strengthen ankles, including preparation, instructions, common issues, tips, and next steps.
How To Strengthen Ankles
Strong ankles are the foundation for almost every movement, from walking to high-intensity sports. Weak or unstable ankles can lead to painful sprains, chronic instability, and poor athletic performance. This guide provides clear, step-by-step exercises to help you build robust ankle strength, improve balance, and reduce your risk of injury. Whether you're recovering from a past injury (with a doctor's approval), looking to boost your athletic ability, or simply want to feel more stable on your feet, these practical exercises will help you build a solid foundation from the ground up.
Fast Answer
- Key Action: Perform targeted exercises 3-5 times per week.
- Focus On: Improving range of motion, building muscle strength, and challenging your balance.
- Core Exercises: Include heel raises, resistance band movements, and single-leg balancing.
Before You Start
- A clear, non-slip space: You need enough room to move without bumping into furniture. A yoga mat can provide cushioning and grip.
- A sturdy chair or wall: This is for support during balance exercises, especially when you are just starting out.
- (Optional) Resistance bands: A set of light to medium loop or TheraBands is highly recommended for adding resistance as you get stronger.
- (Optional) A pillow or balance pad: For advanced balance work, an unstable surface challenges the stabilizing muscles more effectively.
Step-by-Step Instructions
Improve Mobility with Ankle Circles
Before you strengthen, you need to ensure your ankle can move freely through its natural range of motion. Ankle circles are a gentle warm-up that lubricates the joint and prepares it for more strenuous work. This is the perfect first step for any ankle routine.
Sit on a chair or on the floor with your legs extended. Lift one foot off the ground. Slowly and deliberately, rotate your ankle in a large circle. Imagine you are drawing a perfect circle with your big toe. Perform 10-15 circles in a clockwise direction, then reverse and perform another 10-15 circles counter-clockwise. Switch to the other foot and repeat. The movement should be smooth and controlled, not fast or jerky.
Enhance Range of Motion by Drawing the Alphabet
This exercise builds on ankle circles by introducing more complex movement patterns. It challenges your ankle's mobility in multiple directions and improves neuromuscular control, which is the brain's ability to communicate with your muscles. It's a simple but surprisingly effective drill.
While seated, extend one leg out in front of you. Using your big toe as a "pen," slowly trace each letter of the alphabet in the air. Start with "A," then "B," and so on, all the way to "Z." Focus on making the letters large and clear, which will force your ankle through its full range of motion. Once you complete the alphabet, switch to the other foot. Do this once per foot as part of your warm-up.
Build Foundational Strength with Heel Raises
Heel raises, also known as calf raises, are a cornerstone exercise for strengthening the muscles in your lower leg (gastrocnemius and soleus) that play a crucial role in ankle stability and power. A strong calf complex acts as a powerful support system for the ankle joint.
Stand with your feet hip-width apart, near a wall or chair for balance. Keeping your back straight, slowly press through the balls of your feet to raise your heels as high as you can. Pause at the top for a second, feeling the contraction in your calf muscles. Then, slowly lower your heels back to the floor with control. Aim for 2-3 sets of 15-20 repetitions.
To progress, perform the exercise on a single leg. This dramatically increases the load and challenges your balance. You can also perform them on the edge of a step to increase the range of motion, allowing your heel to drop below the level of the step for a deeper stretch and contraction.
Introduce Resistance with Bands
Resistance bands allow you to target the smaller, often-neglected muscles that control side-to-side and rotational movements of the ankle. Strengthening these muscles is critical for preventing inversion sprains (where the ankle rolls outward) and eversion sprains (rolling inward).
Sit on the floor with one leg extended. Loop a resistance band around the ball of your foot.
- Plantar Flexion: Hold the ends of the band. Gently point your toes away from you, pushing against the band's resistance. Return to the start slowly. This mimics the motion of pressing a gas pedal.
- Dorsiflexion: Anchor the band on a stable object (like a heavy table leg). Loop the band over the top of your foot. Pull your toes toward your shin against the resistance.
- Inversion: Cross your legs, placing your working foot on the floor. Loop the band around the top of that foot and anchor it to the side. Turn your foot inward, pulling against the band.
- Eversion: In the same position, anchor the band on the opposite side. Turn your foot outward against the resistance.
For each of these four movements, perform 2 sets of 10-15 repetitions on each ankle. Focus on controlled movement and maintaining tension on the band throughout.
Challenge Your Balance with Single-Leg Stances
Balance is a skill, and it's directly tied to ankle stability. When you stand on one leg, tiny muscles in your foot and around your ankle have to make constant, small adjustments to keep you upright. This drill directly trains that reactive strength, which is vital for navigating uneven surfaces in daily life and sports.
Start by standing on one leg with a slight bend in the knee. Hold a chair or wall for support if needed. Try to hold this position for 30 seconds without letting your other foot touch the ground. As you get more stable, let go of your support. Once you can comfortably hold for 30 seconds, you can progress the exercise:
- Close your eyes: This removes visual feedback and forces your ankle to rely solely on proprioception (your body's sense of its position).
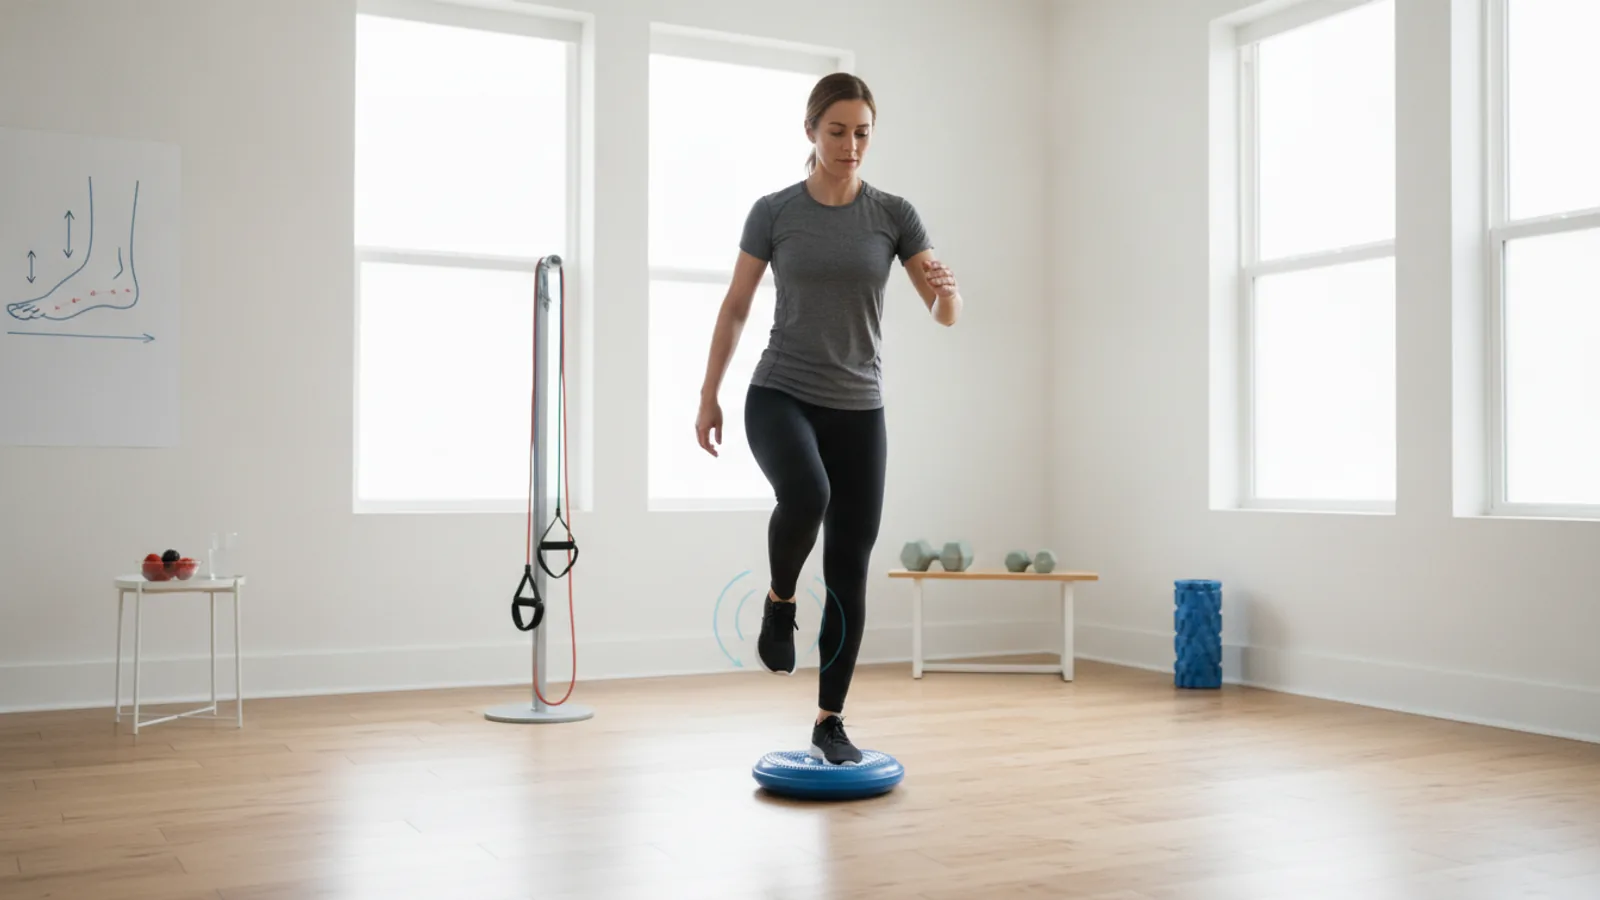
- Stand on an unstable surface: A pillow, a folded-up yoga mat, or a foam balance pad will make the exercise much harder.
- Add movement: While balancing, slowly move your other leg forward, backward, and side-to-side.
Perform 3 sets of 30-60 second holds on each leg.
Practice Dynamic Control with Heel-to-Toe Walks
Static exercises are great, but life involves movement. Heel-to-toe walks challenge your ankle stability while you are in motion, simulating the control needed for walking and running. This exercise improves coordination and balance in a dynamic way.
Find a straight line on the floor or imagine one. Slowly walk forward, placing the heel of your advancing foot directly in front of and touching the toes of your back foot with each step, as if walking on a tightrope. Take 15-20 slow, deliberate steps. Keep your core engaged and your arms out to the side for balance if needed. Once you've gone forward, try walking backward in the same manner. This is significantly more challenging and further hones your ankle control.
Quick Reference
| Situation | Use this | Why |
|---|---|---|
| Just starting or warming up | Ankle Circles & Alphabet | Safely improves mobility and joint awareness without stress. |
| Feeling stable with the basics | Single-Leg Balances & Resistance Bands | Directly builds muscle strength and reactive control. |
| Training for sports or high impact | Unstable Surface Training & Gentle Jumps | Prepares ankles for dynamic, unpredictable movements. |
Common Problems When You Strengthen Ankles
Even with simple exercises, you might run into a few issues. Here’s how to troubleshoot common problems safely and effectively.
Feeling Pain During Exercises
It's crucial to distinguish between muscle fatigue (a burning sensation from working hard) and pain (a sharp, stabbing, or aching feeling in the joint). If you feel sharp pain, stop the exercise immediately. Pain is your body's signal that something is wrong. Pushing through it can lead to a more serious injury. Rest the ankle and if the pain persists, consult a healthcare professional. You may need to modify the exercise or address an underlying issue.
Lack of Noticeable Progress
If you've been doing the same routine for weeks and feel like you've hit a plateau, it's time to apply the principle of progressive overload. Your body has adapted to the current challenge. To keep making progress, you need to make the exercises slightly harder. You can do this by:
- Increasing repetitions or sets.
- Using a stronger resistance band.
- Increasing the duration of your balance holds.
- Making the surface more unstable (e.g., from a pillow to a balance pad).
Ankles "Clicking" or "Popping"
Occasional clicks or pops from a joint, a phenomenon known as crepitus, are often harmless if they are not accompanied by pain or swelling. It can be caused by gas bubbles in the synovial fluid or a tendon snapping over a bone. However, if the clicking is new, frequent, or associated with pain, it could indicate an issue with cartilage or a tendon. In that case, it's best to get it checked by a doctor.
Advanced Tips for Strengthening Ankles
Once you've mastered the basics and built a solid foundation, you can incorporate these advanced techniques to develop truly resilient ankles.
Incorporate Gentle Plyometrics
Plyometrics are exercises that involve jumping and landing, training your muscles to produce force quickly. This is essential for sports. Start very small. Practice jumping up and down in place, focusing on landing softly and quietly on the balls of your feet. Then, progress to small box jumps onto a very low, sturdy surface like an aerobic step. The key is landing with control, absorbing the impact by bending your knees and hips, not by letting your ankles collapse.
Use Unstable Surfaces Strategically
Performing exercises like squats or lunges on a BOSU ball, wobble board, or balance disc forces your ankles to work much harder to maintain stability. This is an excellent way to build functional strength. Start with bodyweight only, and only add weight once you can perform the movements with perfect control. Even simply standing on a wobble board and shifting your weight around can be a powerful exercise.
Integrate Ankle Stability into Full-Body Lifts
Pay close attention to your feet and ankles during major lifts like squats and deadlifts. Ensure your weight is distributed evenly across your feet and that your ankles are not rolling in or out. Practicing these lifts barefoot or in minimalist shoes can sometimes help improve foot muscle activation and proprioception, leading to better ankle stability under load.
How To Strengthen Ankles FAQ
How long does it take to strengthen ankles?
Can I strengthen my ankles after a sprain?
Are ankle weights a good way to strengthen ankles?
Should I do these exercises on both ankles if only one feels weak?
Final Checklist for Strengthening Ankles
- Always Warm-Up: Begin every session with gentle mobility exercises like ankle circles to prepare the joint for work.
- Focus on Form: Prioritize slow, controlled movements over speed, weight, or number of repetitions. Quality is more important than quantity.
- Be Consistent: Aim for 10-15 minutes of dedicated ankle work, 3-5 times per week, on non-consecutive days to allow for recovery.
- Listen to Your Body: Stop immediately if you feel any sharp, stabbing, or unusual joint pain. Differentiate this from normal muscle fatigue.
- Progress Gradually: Only increase the difficulty (reps, resistance, instability) when you can complete your current routine with confidence and perfect form.
- Seek Professional Advice: Don't hesitate to consult a physical therapist for a personalized plan, especially if you have a history of ankle injuries.