How To Strengthen Wrists
A practical step-by-step guide to how to strengthen wrists, including preparation, instructions, common issues, tips, and next steps.
How To Strengthen Wrists
Strengthening your wrists is crucial for preventing injuries, improving grip strength for sports and daily activities, and reducing pain from repetitive tasks like typing. This guide provides a clear, step-by-step routine using simple equipment to build resilient and powerful wrists. Whether you're an athlete, an office worker, or just looking to improve your functional fitness, these exercises will help you build a solid foundation for wrist health and performance.
Fast Answer
- Key Action: Perform a balanced routine of flexion, extension, and rotation exercises.
- Frequency: Aim for 2-3 non-consecutive days per week to allow for recovery.
- Tools: Use light dumbbells, resistance bands, or just your bodyweight.
- Main Goal: Increase strength and flexibility to support joints and prevent strain.
Before You Start
Proper preparation is key to a safe and effective wrist strengthening routine. Gather your equipment and make sure you understand the safety guidelines before beginning any exercises. Starting slowly and focusing on form will give you the best results and protect you from injury.
What You Need
- Light Dumbbells: A pair of 1 to 5-pound dumbbells is ideal for beginners. You can also use soup cans or water bottles as a substitute.
- Resistance Bands: Small, looped resistance bands are excellent for adding tension without heavy weight.
- A Sturdy Surface: A table, bench, or even your knee can be used to support your forearm during exercises.
- Grip Strengthener or Stress Ball: Useful for improving your grip, which is closely tied to wrist strength.
- A Clear, Comfortable Space: Ensure you have enough room to move your arms freely without hitting any objects.
Safety, Timing, and Context Checks
- Always Warm Up: Never start with cold muscles. Spend 2-3 minutes performing gentle wrist circles and finger stretches to increase blood flow.
- Start Light: Begin with no weight or the lightest possible weight to master the form. Proper technique is far more important than lifting heavy.
- Listen to Your Body: A mild burning sensation in the muscles is normal. Sharp, shooting, or sudden pain is not. Stop immediately if you feel this kind of pain.
- Mind Your Range of Motion: Move your wrists through their full, comfortable range of motion. Do not force them into painful positions.
Step-by-Step Instructions
Follow these steps in order to create a balanced routine. Perform each exercise with slow, controlled movements. The goal is to build strength through control, not momentum.
Warm Up Your Wrists and Forearms
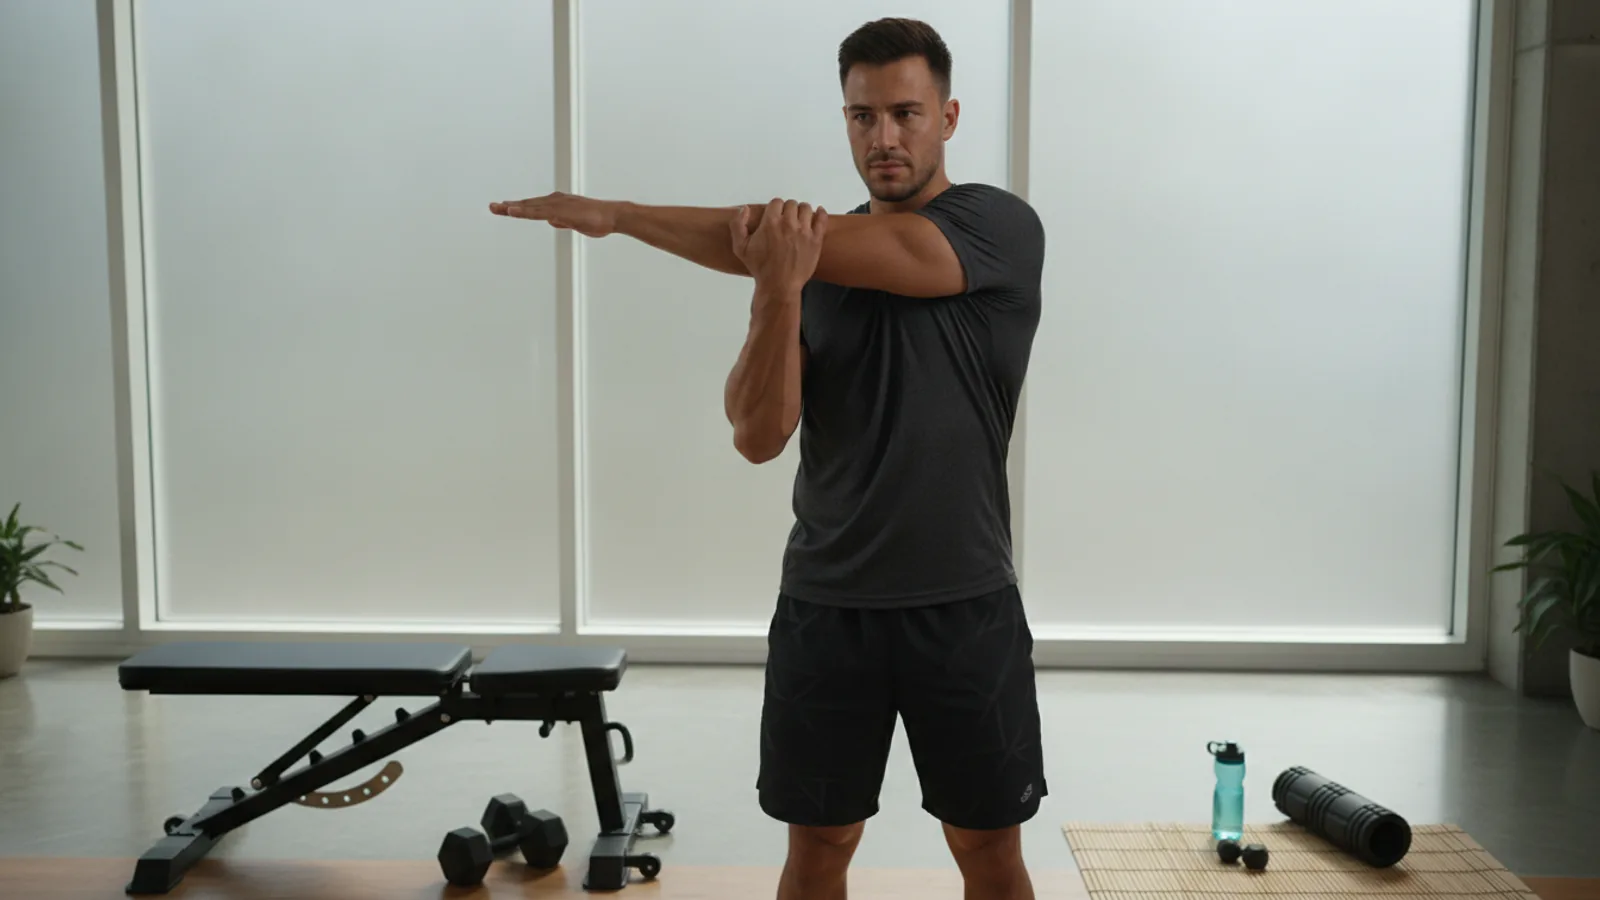
A proper warm-up prepares your joints and muscles for exercise, reducing the risk of strains. Sit or stand comfortably. Extend one arm in front of you with the palm facing up. Gently bend your wrist down with your other hand, holding for 15-30 seconds. Then, gently bend it up, holding again. Repeat on the other side. Follow this with 10-15 slow wrist circles in each direction for both wrists. Finally, open and close your hands 10 times, stretching your fingers wide and then making a fist.
Perform Wrist Curls for Flexion
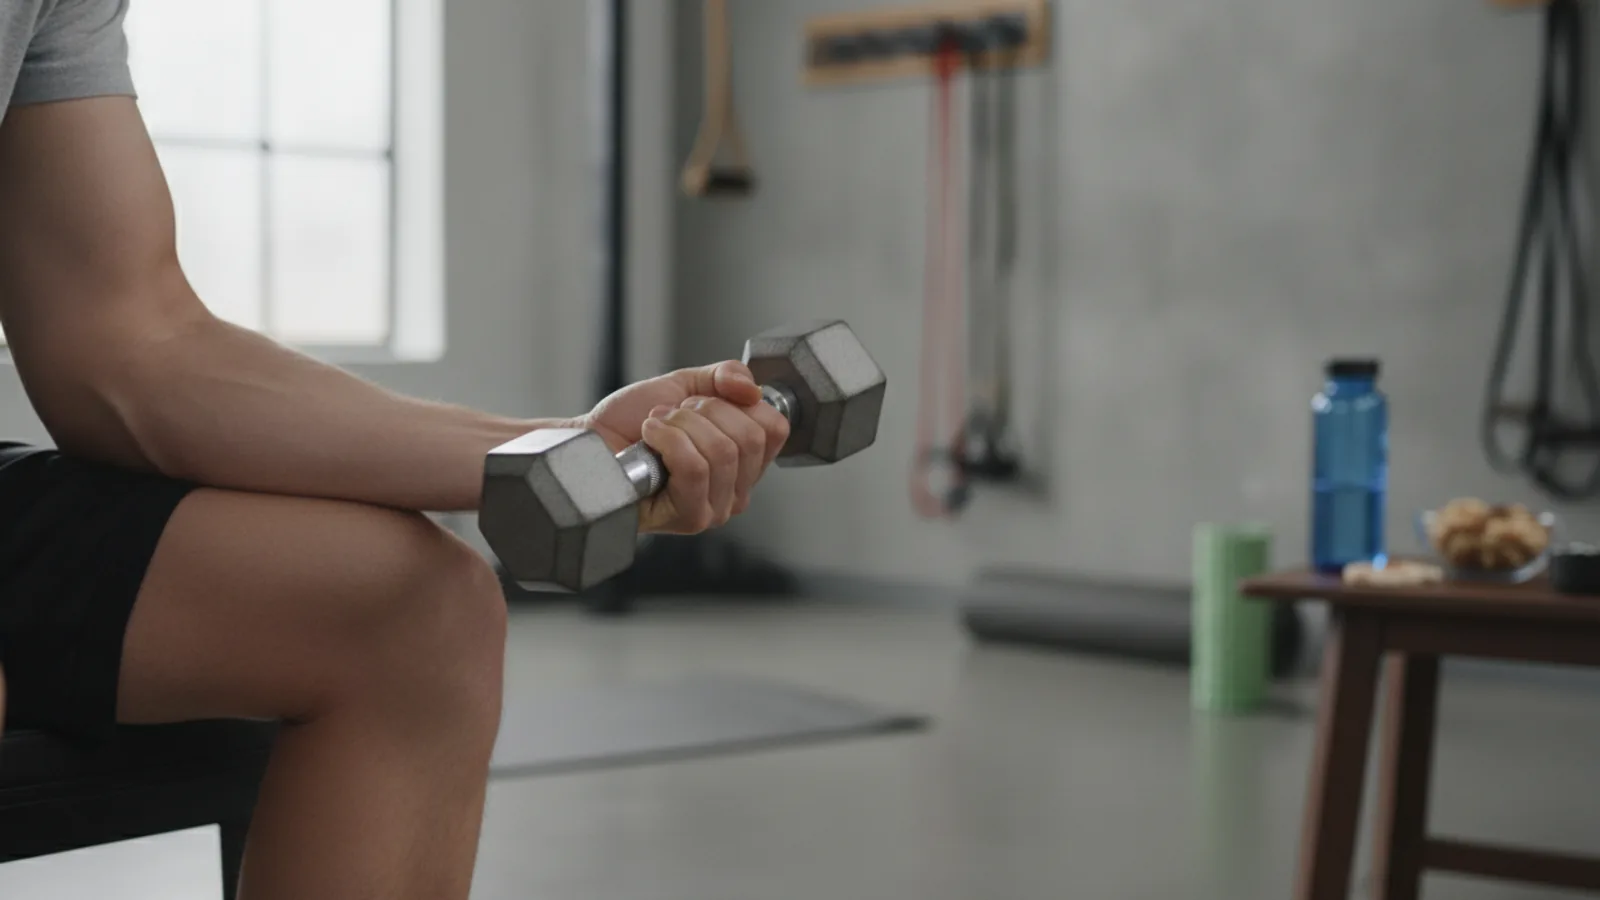
This exercise targets the flexor muscles on the inside of your forearm. Sit in a chair and grab a light dumbbell. Rest your forearm on your thigh or a flat bench with your palm facing up and your hand hanging off the edge. Slowly lower the weight as far as you comfortably can, then curl the weight upward, squeezing the muscles in your forearm. Hold the top position for a second before slowly lowering it back down. Aim for 2-3 sets of 10-15 repetitions on each arm.
Practice Reverse Wrist Curls for Extension
Now, we'll work the opposing muscles: the extensors on the top of your forearm. This helps create balance and stability. Assume the same position as the wrist curl, but this time, your palm should be facing down. Let your wrist hang down, then slowly raise the dumbbell up as high as you can. You will likely need a lighter weight for this exercise, or even no weight at first, as these muscles are typically weaker. Perform 2-3 sets of 10-15 repetitions per arm.
Use Resistance Bands for Side-to-Side Motion
Strengthening the side-to-side movements (radial and ulnar deviation) is important for overall stability. Sit at a table and place your hand flat, with your thumb pointing up. Loop a light resistance band around your hand. Anchor the other end of the band to a stable object to one side. Without moving your forearm, tilt your wrist away from the band's anchor point. For example, if the band is anchored to your left, move your wrist to the right. Return to the start slowly. Do 10-15 reps, then switch sides and repeat with the other hand.
Strengthen Your Grip
Grip strength is a key component of wrist health. A strong grip helps stabilize the wrist joint during lifting and other activities. Use a stress ball, a tennis ball, or a dedicated grip strengthener. Squeeze the object as hard as you can for 3-5 seconds, then slowly release. Rest for a few seconds and repeat. Aim for 10-15 repetitions with each hand. This can easily be done while watching TV or sitting at your desk.
Incorporate Stretches for Flexibility
Flexibility is just as important as strength. The prayer stretch is excellent for this. Stand and bring your palms together in front of your chest, as if in prayer. Your fingers should point upward. Slowly lower your hands toward your waistline until you feel a gentle stretch in your wrists and forearms. Hold for 20-30 seconds. For the reverse prayer stretch, place the backs of your hands together with fingers pointing down and raise them until you feel a stretch. This helps counter the effects of prolonged typing or gripping.
Add Weight-Bearing Exercises
Once you've built a baseline of strength, you can add weight-bearing exercises to improve stability. Start with a plank on your knees and hands. Ensure your hands are directly under your shoulders and your wrists are straight. Hold for 30-60 seconds. As you get stronger, you can progress to a full plank on your toes. For an added challenge, try holding the plank on your fists (knuckles down) to maintain a neutral wrist position, which can be less stressful for some people.
Quick Reference
| Situation | Use this | Why |
|---|---|---|
| You feel wrist pain after typing all day. | Prayer Stretches & Reverse Wrist Curls | Stretches relieve tension, and strengthening the extensors balances out the overused flexor muscles. |
| Your grip fails during pull-ups or deadlifts. | Grip Squeezes & Farmer's Walks | These exercises directly target and build the forearm muscles responsible for a powerful, enduring grip. |
| Your wrists feel unstable during push-ups or yoga. | Planks & Wrist Curls (both types) | Planks build stability under load, while curls strengthen the muscles that support the wrist from all angles. |
| You want general injury prevention. | A full routine (all exercises) | A balanced approach ensures strength, flexibility, and stability, making wrists resilient to daily stress. |
Common Problems When You Strengthen Wrists
Even with the best intentions, you might run into a few issues. Here’s how to troubleshoot common problems.
- Feeling Pain, Not a Burn: There's a big difference between the fatigue of a working muscle and sharp, stabbing pain. If you feel sharp pain, stop the exercise immediately. The cause could be poor form, too much weight, or an underlying issue. Rest the area and try again later with a lighter weight or no weight, focusing intensely on form. If the pain persists, see a healthcare professional.
- Not Seeing Progress: If you've been doing the same routine for weeks and don't feel any stronger, it might be time for progressive overload. This means gradually increasing the challenge. You can do this by adding a small amount of weight (e.g., going from a 2lb to a 3lb dumbbell), increasing your repetitions, or adding another set. Progress should be slow and steady.
- Wrists Clicking or Popping: Occasional clicking or popping without pain is usually harmless. It's often just gas being released from the synovial fluid in your joints (a process called cavitation). However, if the clicking is accompanied by pain, swelling, or a catching sensation, it could indicate a problem that needs medical attention.
- One Wrist is Weaker Than the Other: It's very common to have a strength imbalance, especially between your dominant and non-dominant hands. Continue training both sides equally. Over time, the weaker side will catch up. Avoid the temptation to use a heavier weight on your stronger side, as this can worsen the imbalance.
Advanced Tips for Strengthening Wrists
Once you've mastered the basic exercises and built a solid foundation, you can incorporate these advanced techniques to take your wrist strength to the next level.
- Farmer's Walks: This is a simple yet incredibly effective exercise. Grab the heaviest pair of dumbbells or kettlebells you can safely hold. Stand tall with good posture, engage your core, and walk for a set distance or time (e.g., 50 feet or 30 seconds). This exercise builds immense grip and forearm strength, which translates directly to wrist stability.
- Use Thick Grips: Purchase a pair of thick bar grips (like Fat Gripz) to slide over your dumbbells or barbells. The increased diameter forces you to squeeze harder, intensely activating the muscles in your hands and forearms. This makes every curl, row, or press a powerful wrist-strengthening exercise.
- Plate Pinches: Hold two small weight plates together with the smooth sides facing out. Pinch them together with just your fingertips and thumb, and hold for as long as you can. This is an excellent way to build pinching strength, which is a crucial and often-overlooked aspect of hand and wrist function.
- Wrist Rotations with a Sledgehammer or Mace: This is an old-school strongman exercise. Grab a light sledgehammer or mace by the end of the handle. Hold it straight out in front of you and slowly, with control, rotate it from side to side like a windshield wiper. The leverage makes even a light weight very challenging and builds rotational strength and stability.
How To Strengthen Wrists FAQ
How long does it take to strengthen wrists?
Can I strengthen my wrists every day?
Are wrist wraps helpful for strengthening?
What causes weak wrists in the first place?
Do push-ups strengthen wrists?
Final Checklist for Strengthening Wrists
Use this checklist to ensure you're following the best practices for building strong, healthy wrists. A consistent and mindful approach is your best path to long-term success.
- Warm-Up First: Did you spend at least 2 minutes on gentle stretches and wrist circles before starting?
- Focus on Form: Are your movements slow, controlled, and deliberate? Avoid using momentum.
- Train All Ranges of Motion: Your routine should include flexion (curls), extension (reverse curls), and side-to-side movements.
- Listen to Your Body: Stop immediately if you feel any sharp or shooting pain. Do not push through it.
- Be Consistent: Are you performing your routine 2-3 times per week on non-consecutive days?
- Progress Gradually: When exercises feel too easy, increase the weight, reps, or sets slightly.
- Stretch Afterwards: Finish your session with gentle stretches like the prayer stretch to maintain flexibility and aid recovery.